Our Patio Enclosure:
When I first purchased my house it had a
badly cracked concrete slab directly off the sliding glass door. Ever since Maggie
and I have gotten married we have been talking about getting it fixed, but could not decide what to do with the space.
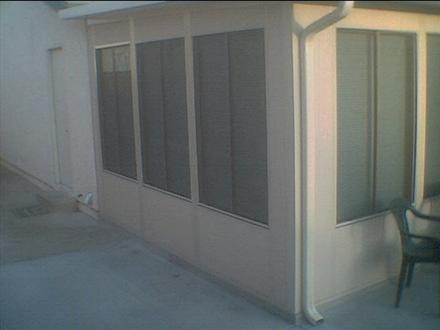
During Maggie's Christmas Break (2006) we started researching some ideas. The plan we liked best was adding an
Enclosed Patio Room. We had four estimates, but liked the proposal/price from Sunvue (http://www.sunvuerooms.com/) the best. Ralph Brown (No Relation)
the owner of the company came out to measure and do an estimate. We really liked his vision for the project.
He even worked with us to help bring the project into our budget. Based on the space we had and our budget Ralph
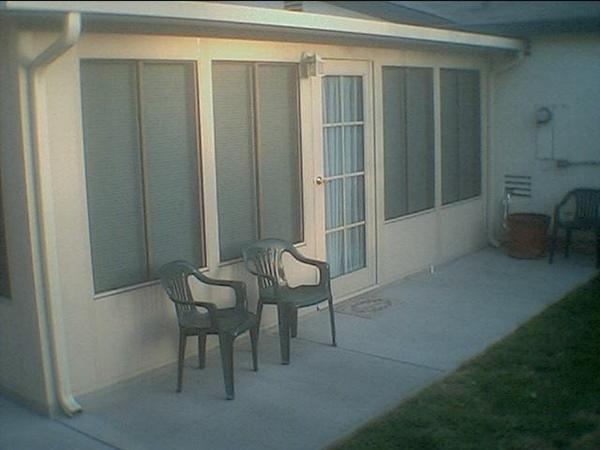
recommended a Patio Enclosure made by a company in Riverside CA called c-thru
(http://www.c-thru.com/). The structure he proposed
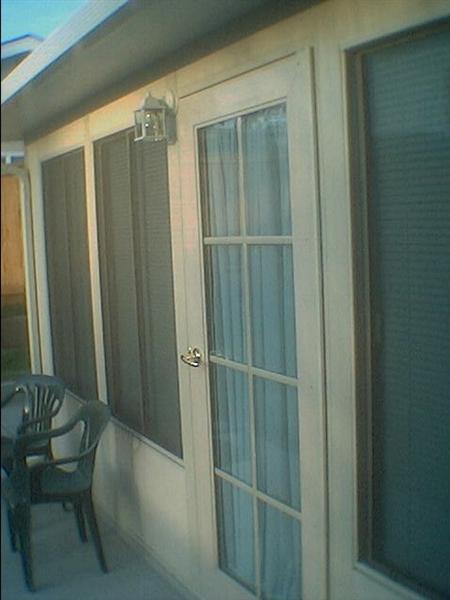
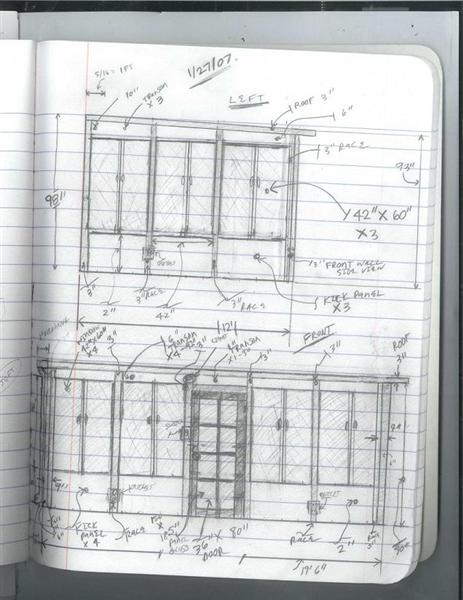
would have a 3 inch roof and 3 inch walls. We also agreed to a 3 foot door with dual glass and grids.
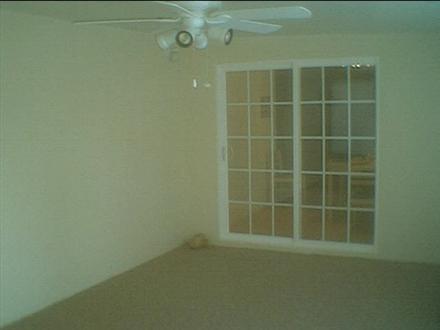
The building would have lots of window (dual glass) with screens. We were also able to replace our
existing sliding glass door with a new vinyl glass door with grids (he called it a French Slider).
The size of the building would be 12' by 19'6" and it would have a 3' sidewalk in front and on the other side there would
a 5' sidewalk with a curb to hold back dirt near our retaining wall. We signed the contract on Jan 13, 2007
and everything was completed on March 24, 2007.
There was lots of work to do:
0.) Get City Permit
1.) Move AC Unit
2.) Demo Exist Slab
3.) Pour New Slab
4.) Let concrete dry 3 weeks
5.) Drywall inside wall connected to the
Enclosure (Required per code)
6.) Redirect Dryer Vent
7.) Redirect Water Heater Vent
8.) Put up the Building
9.) Wire it with Electrical Wiring
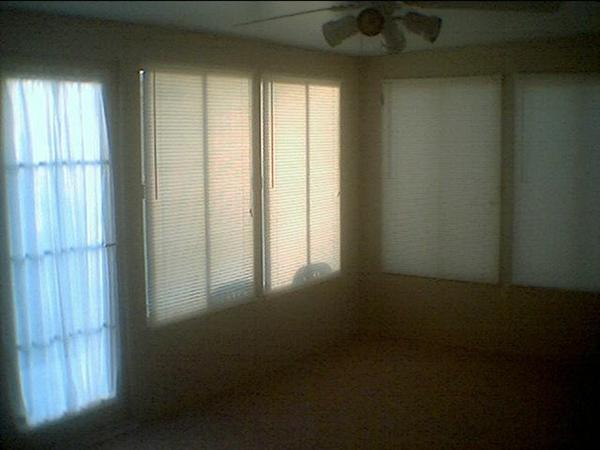
10.) Install ceiling Fan
11.) Two City Inspections (Rails and Final)
12.) Finish the Stucco Wall with plaster
(So they look like dry wall)
13.) Mini Blinds (Did that myself)
14.) Paint (Did that myself)
15.) Carpet (Did that myself too)
As I mentioned the work was completed on
March 24, 2007. In all we are happy with the results. One thing that was a concern is
that the building might leak, but so far no problems and we have had two stronger (for CA) rains. That the
only pending thing. The only other open question now is what the heck are we going to do with the extra
234 sq. feet of space. So far Maggie plans to move her office out there and we are looking for
some nice patio type furniture.